End grain cutting boards have several advantages. It’s easier on knife edges, so it keeps the knife sharp for longer. Because the fibres are pointing upwards, the board should not get damaged so quickly as the knife edge cuts in between these fibres.
A disadvantage is that moisture is absorbed more easily through end grain, so these boards need a little more care, like cleaning shortly after use, and not allowing it to sit in water.
Here is my process:
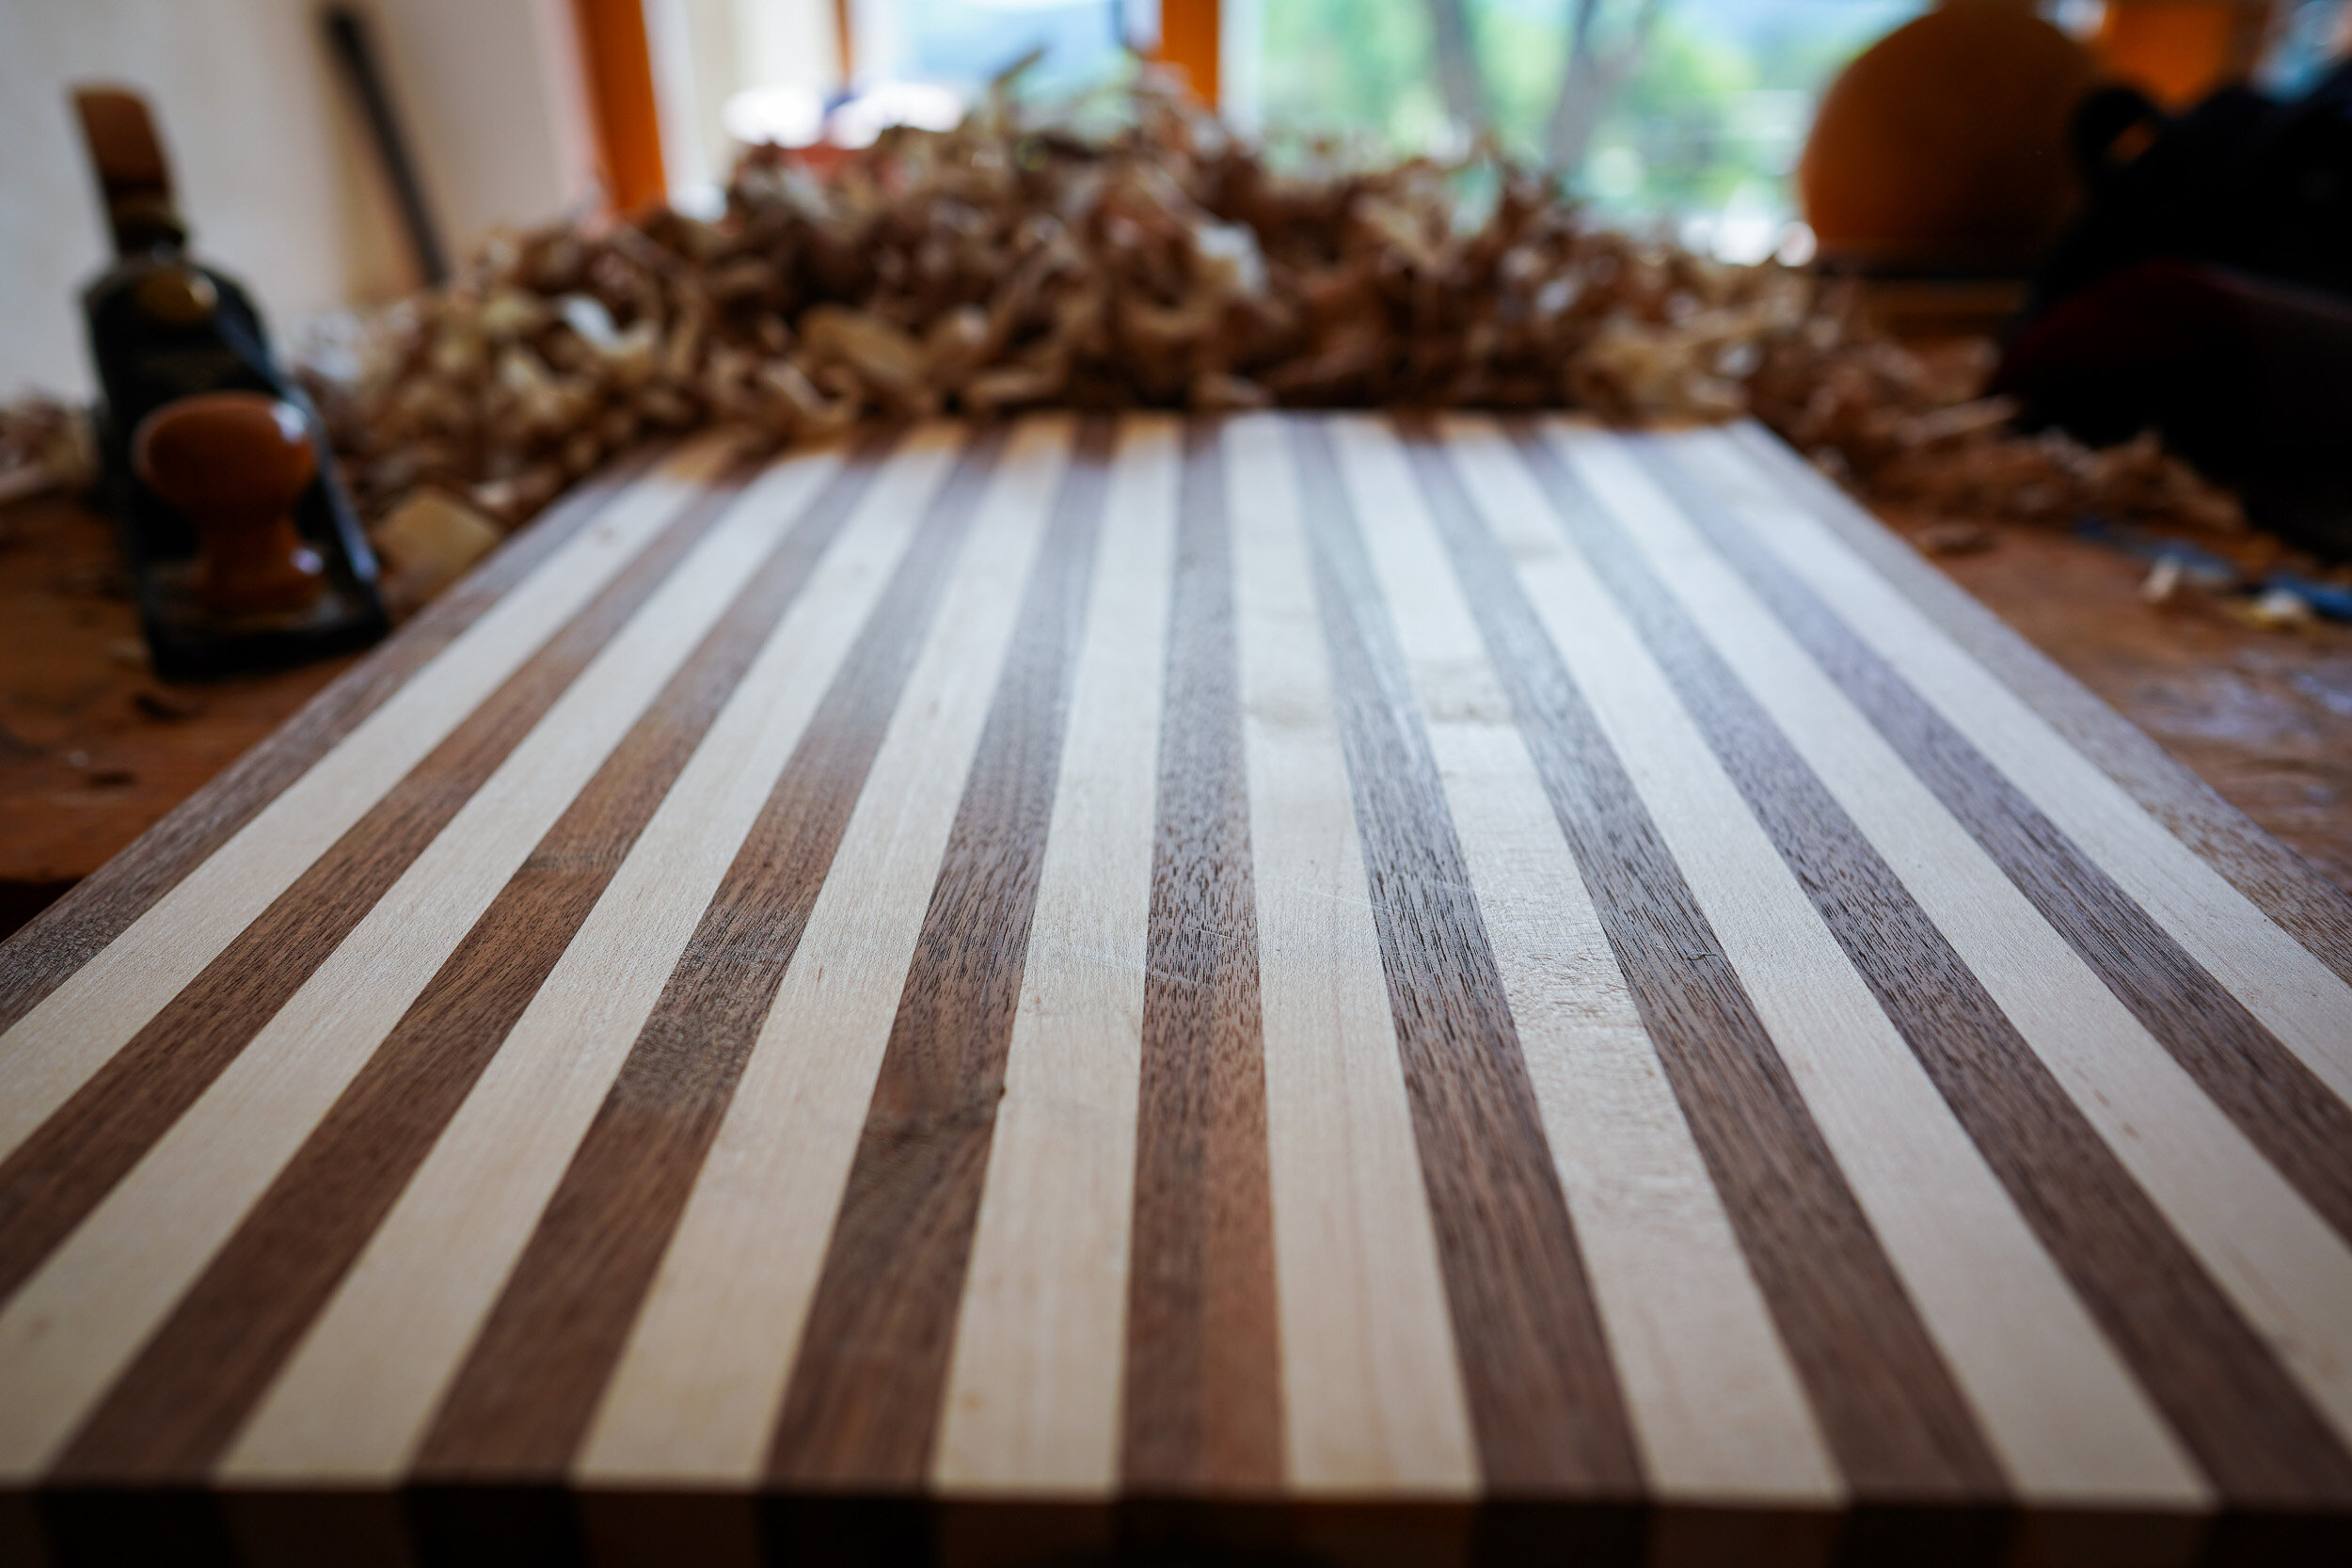
I start with cutting both boards into equal strips and then arranging them one walnut and one maple

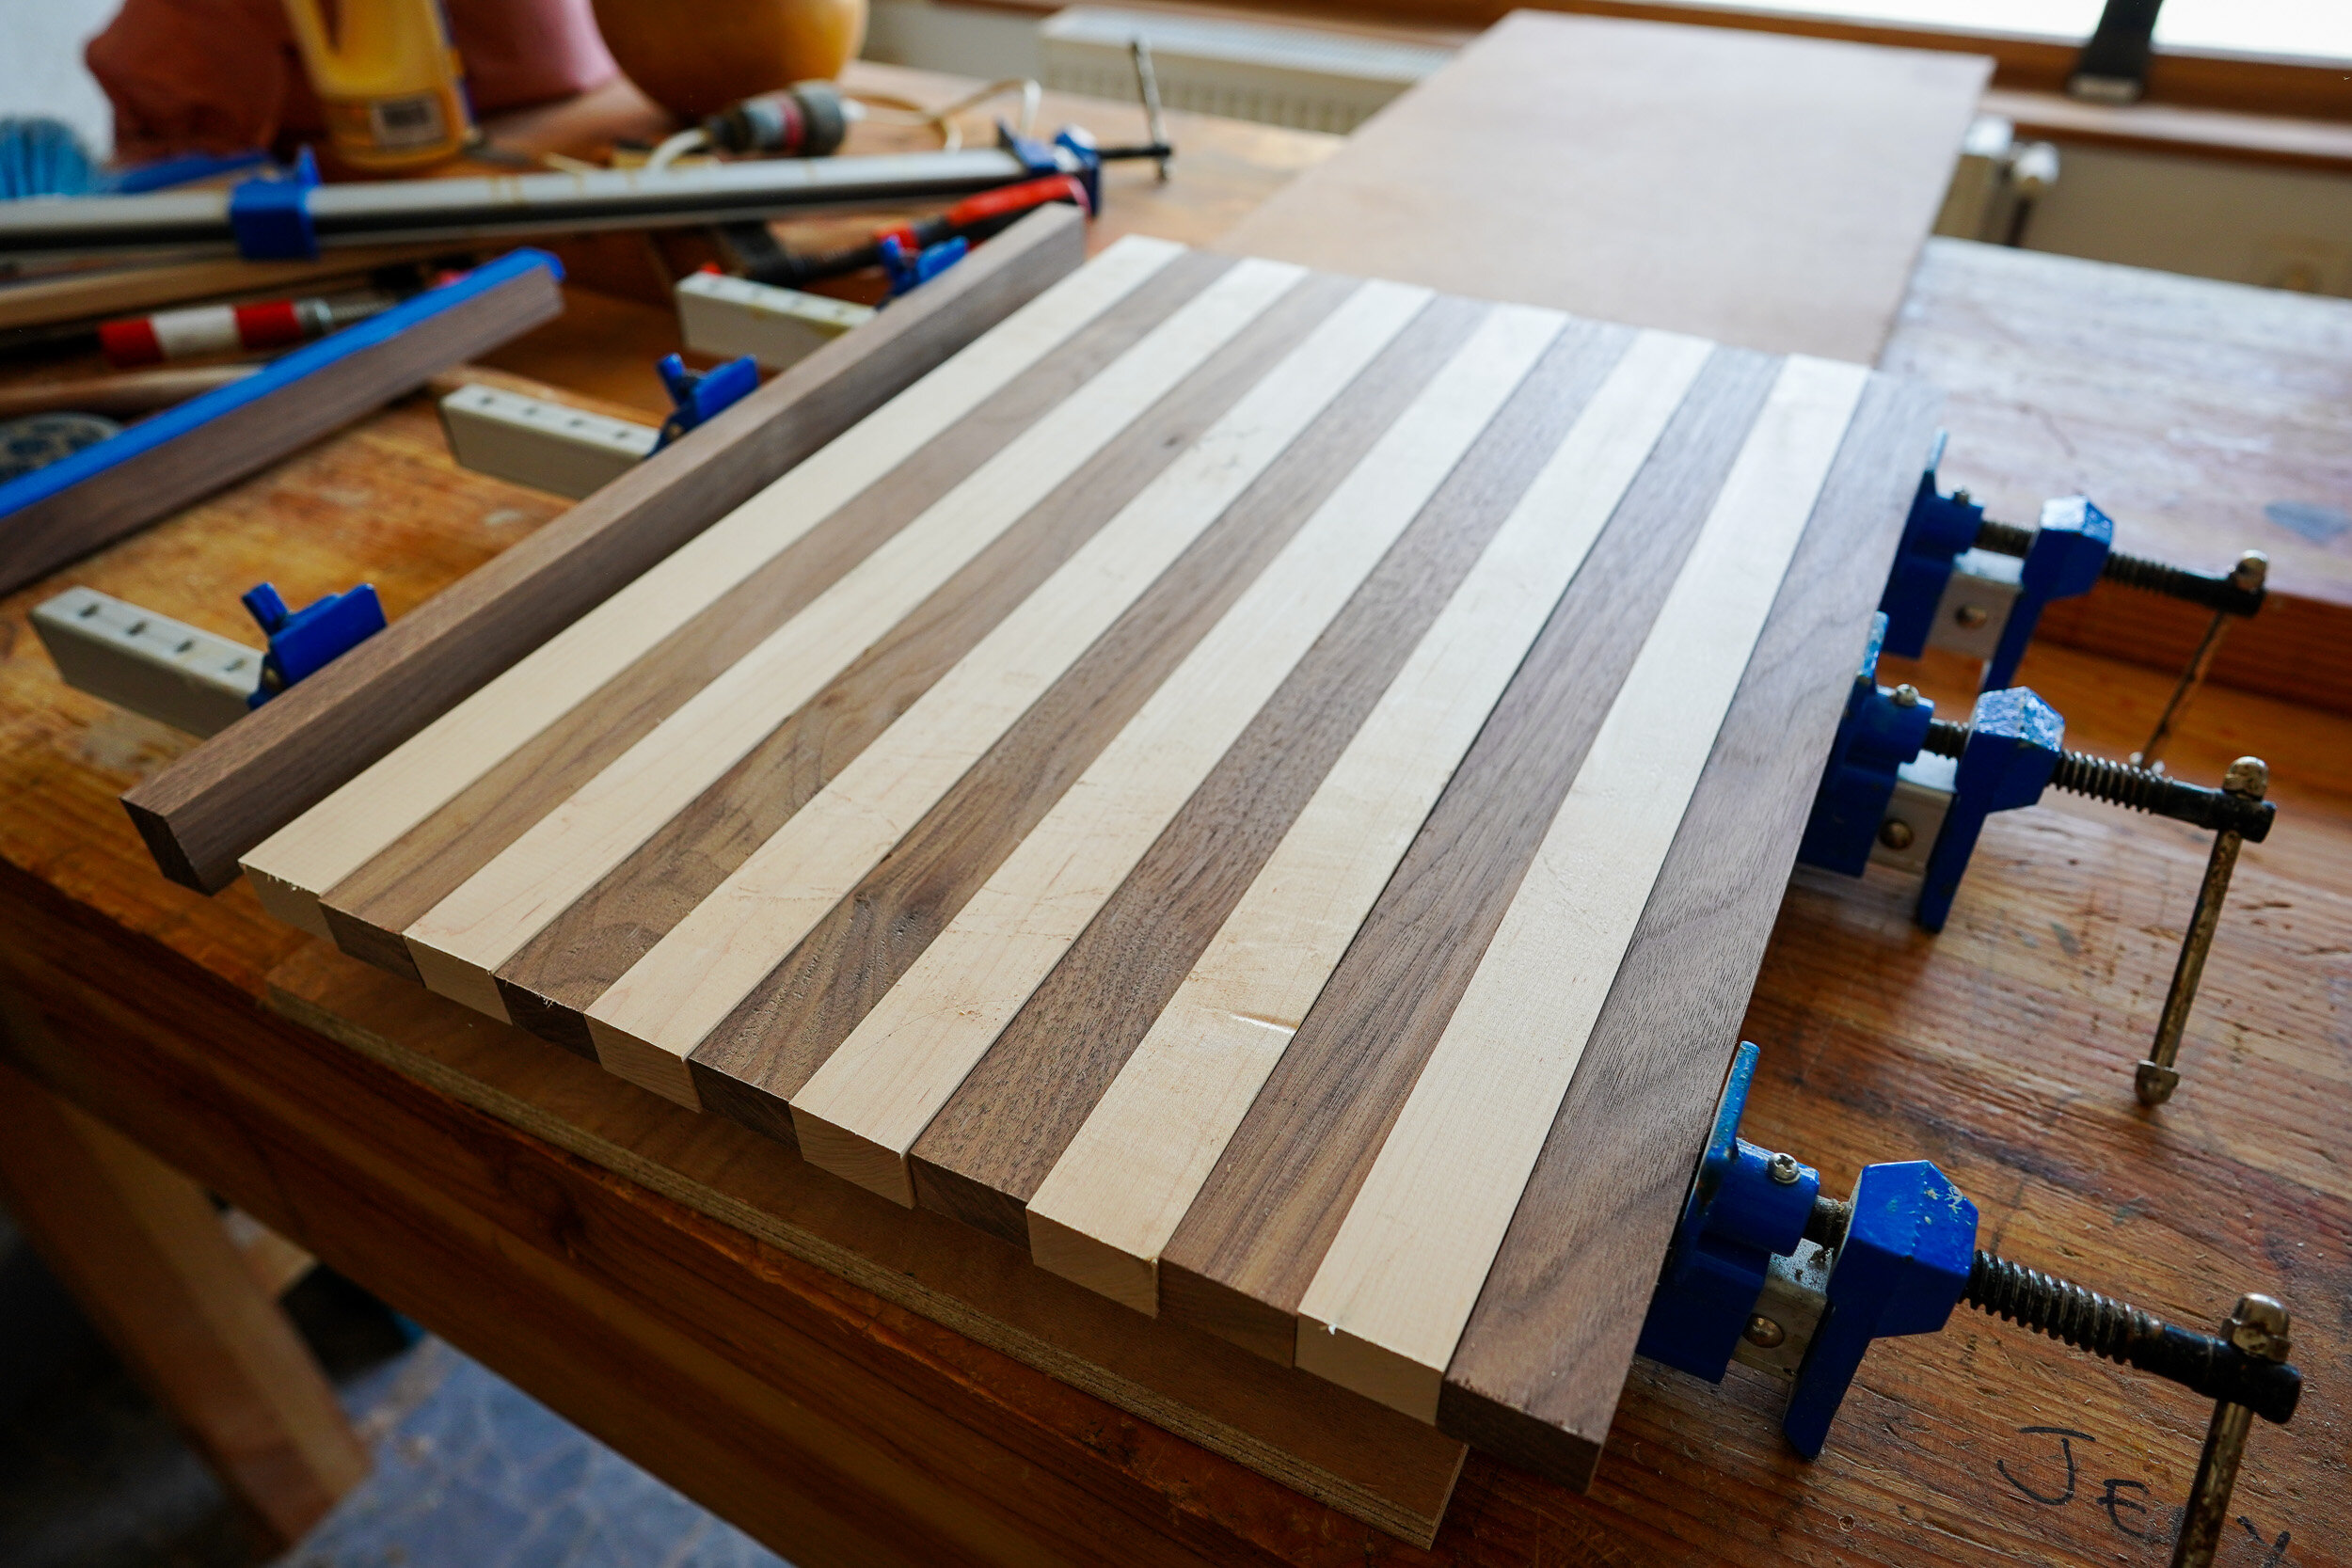
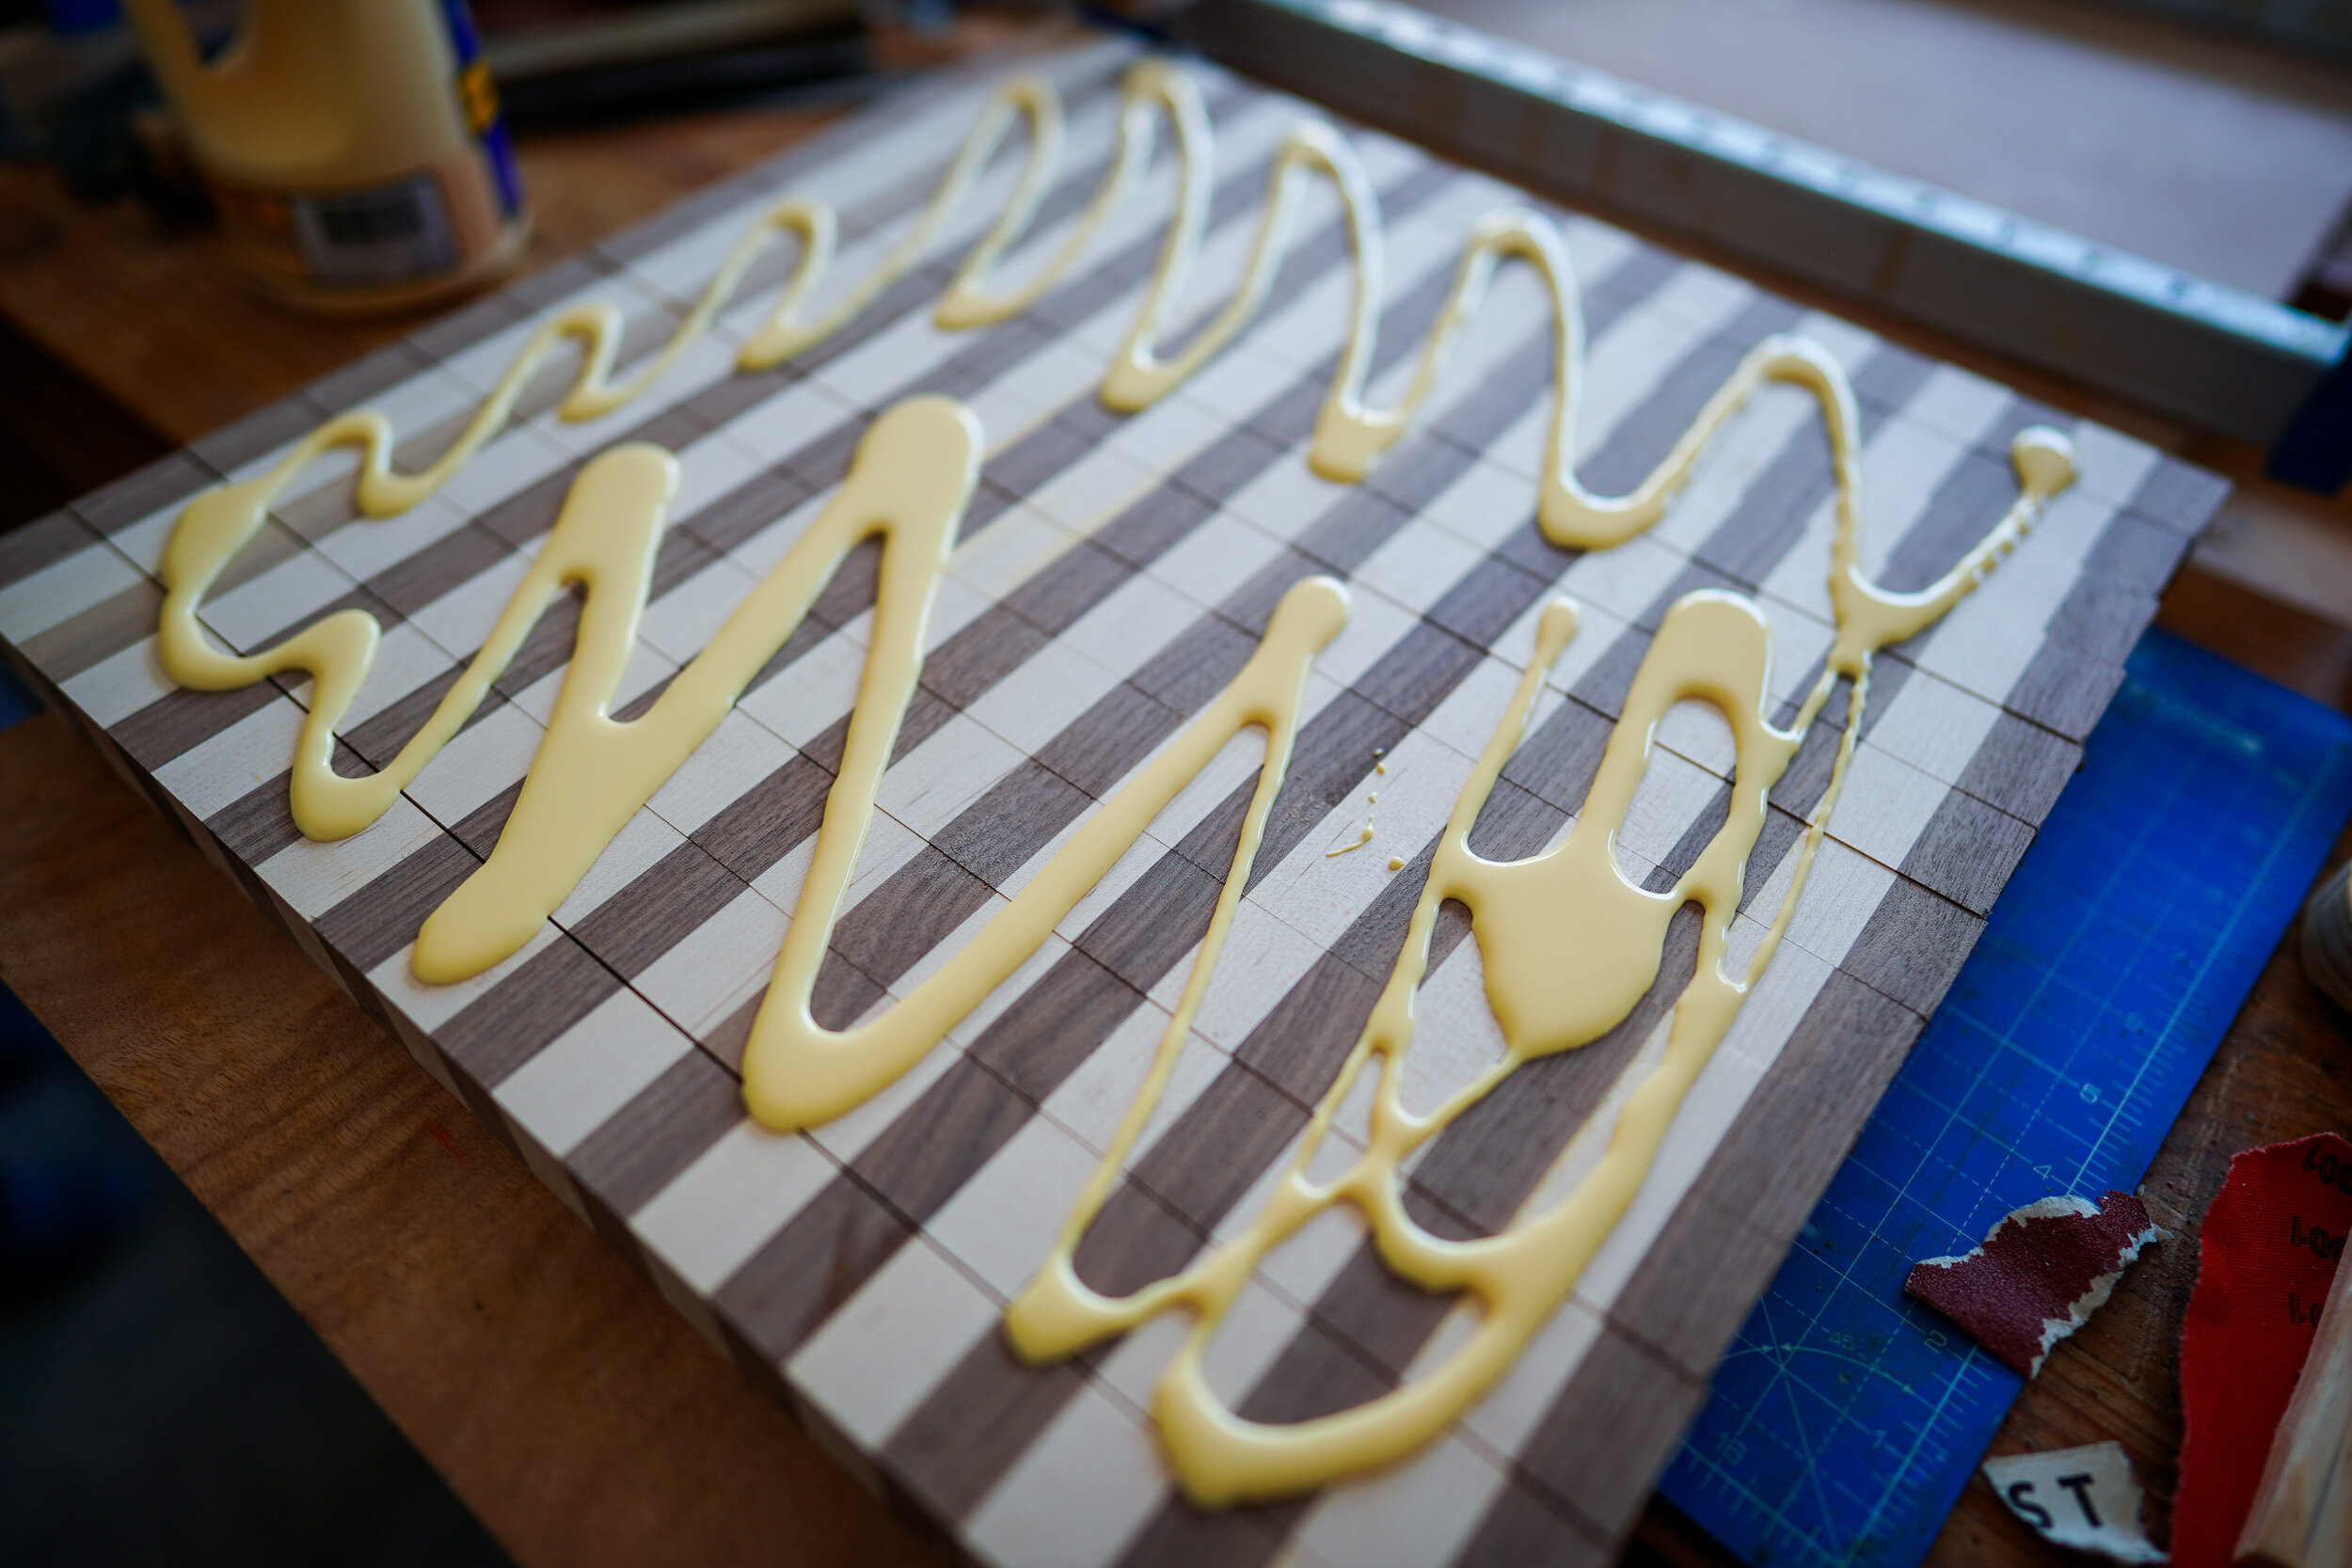
Next is the glue up, I’m using titebond 2, foodsafe and waterproof


Once in clamps, its left overnight to dry,
The next day I remove the glue squeeze out with a chisel.
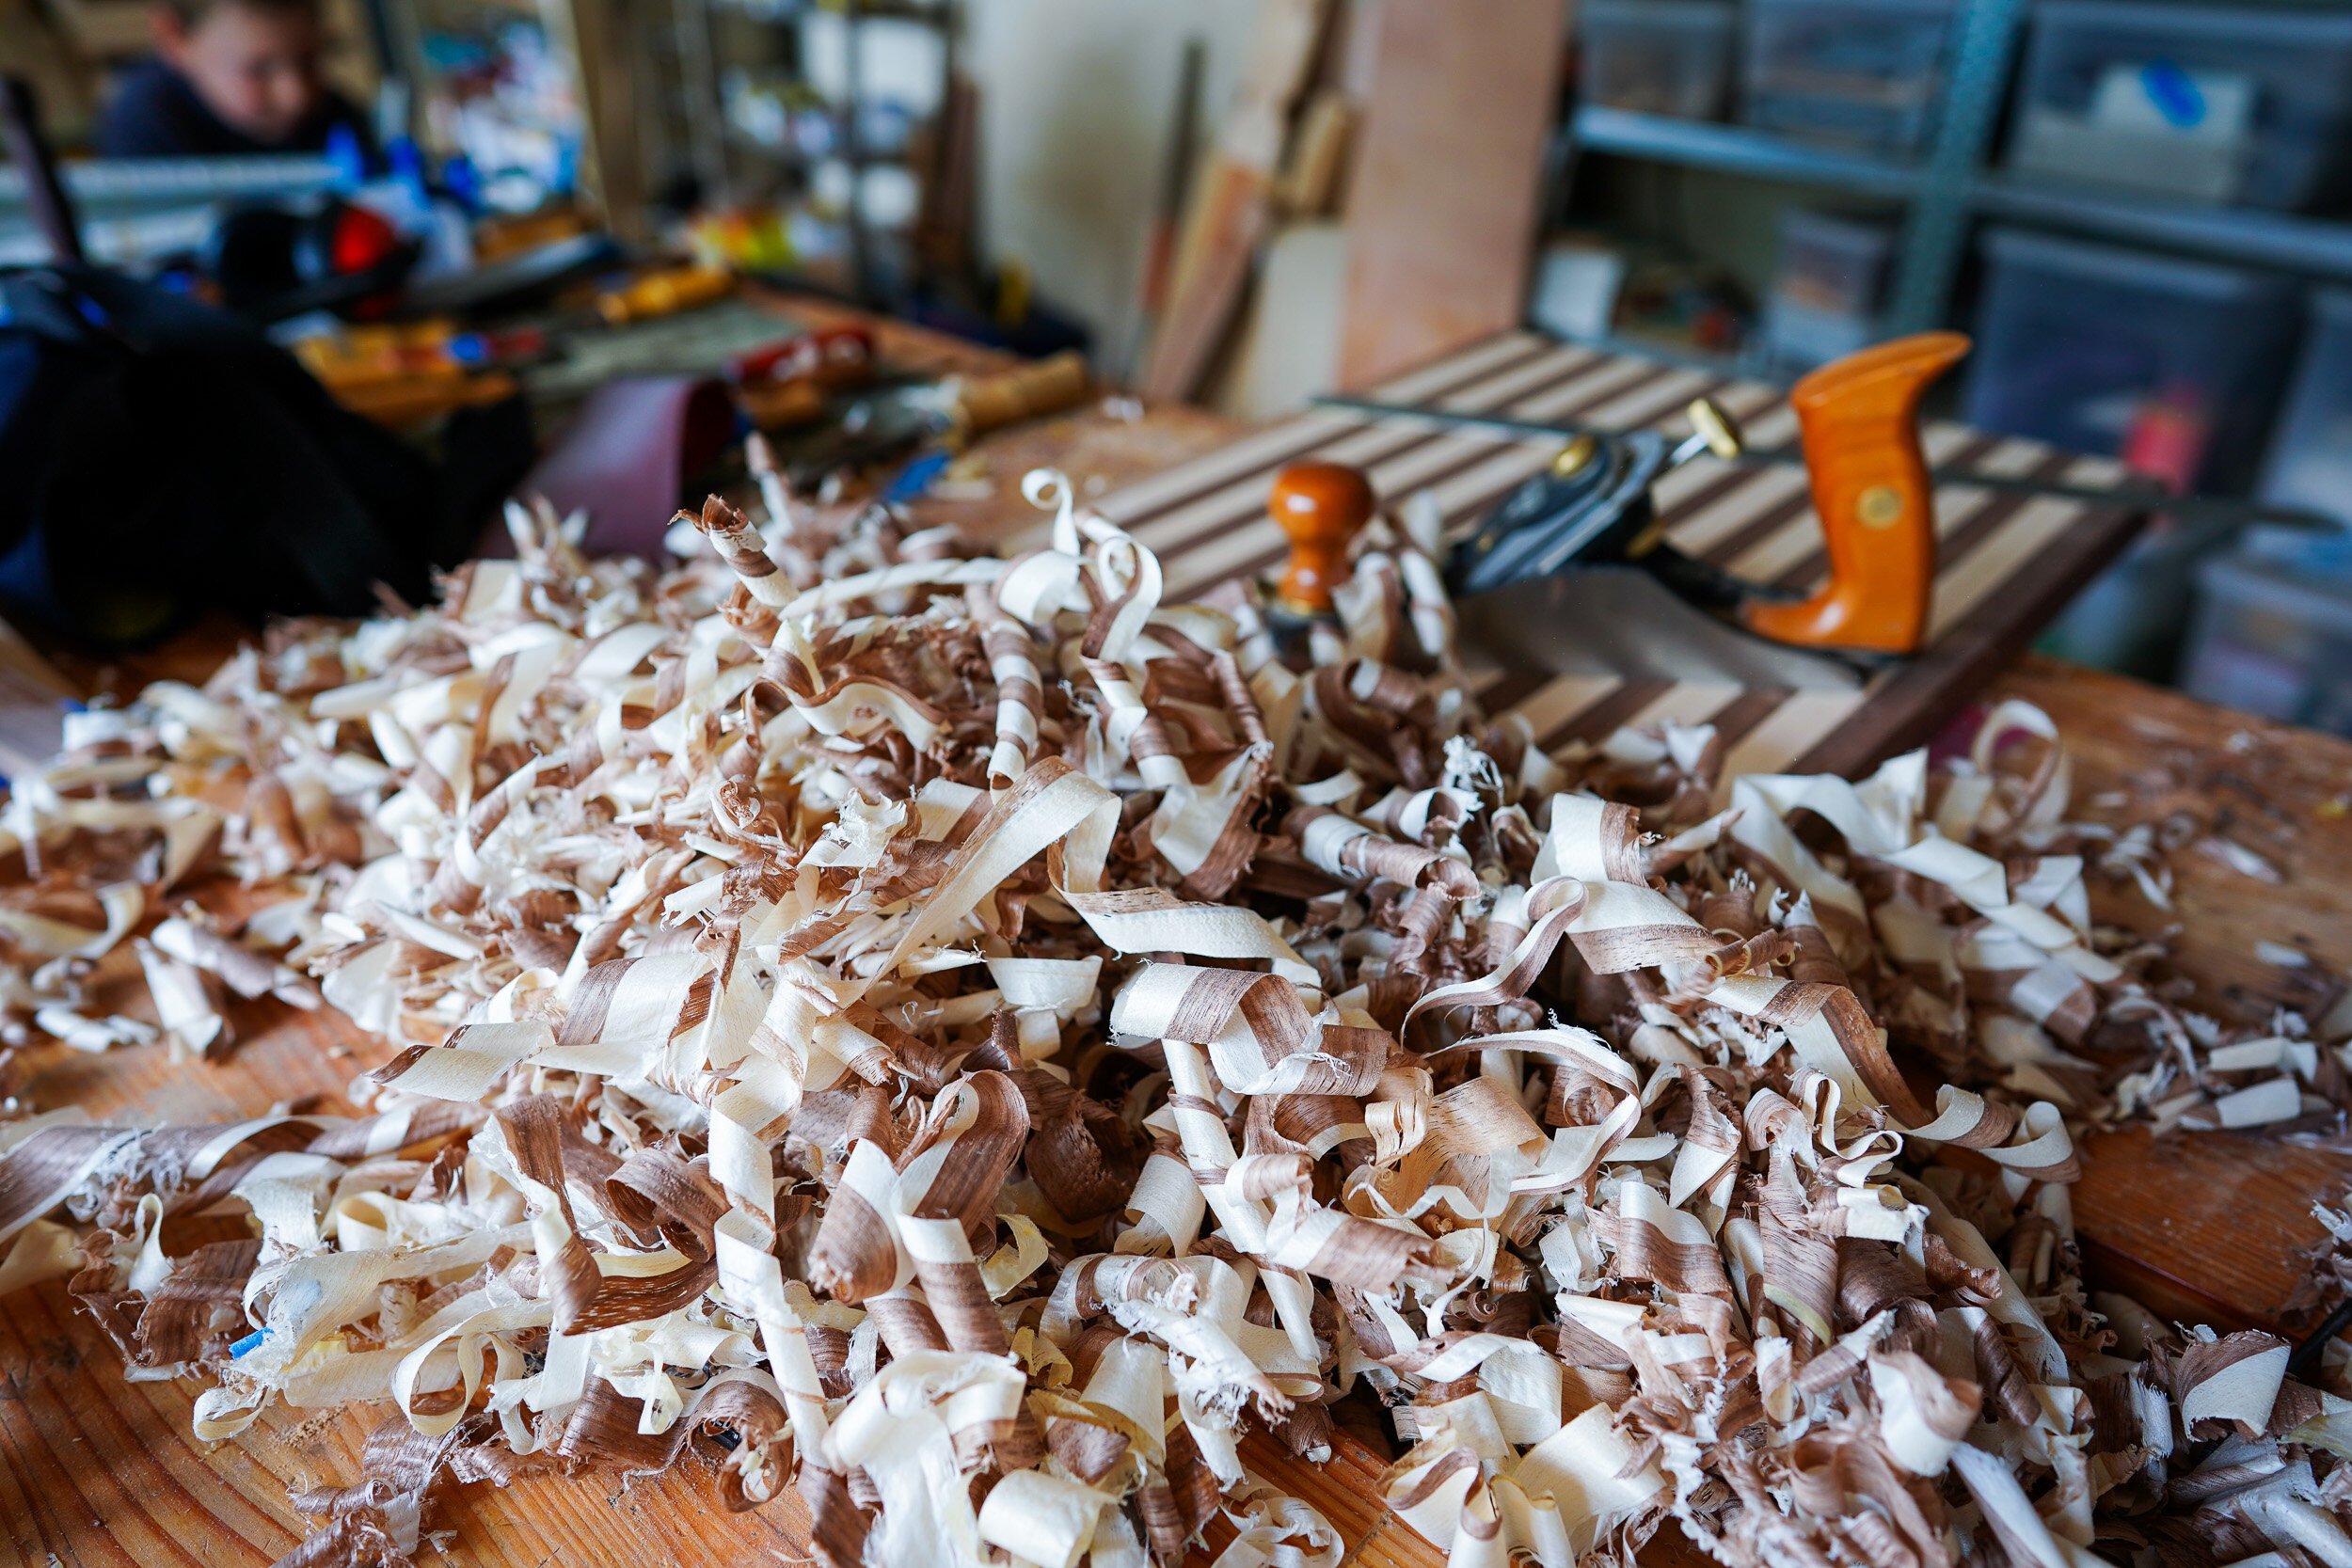
And the most time consuming part of the project, flattening both surfaces with a large 5 1/2 hand plane


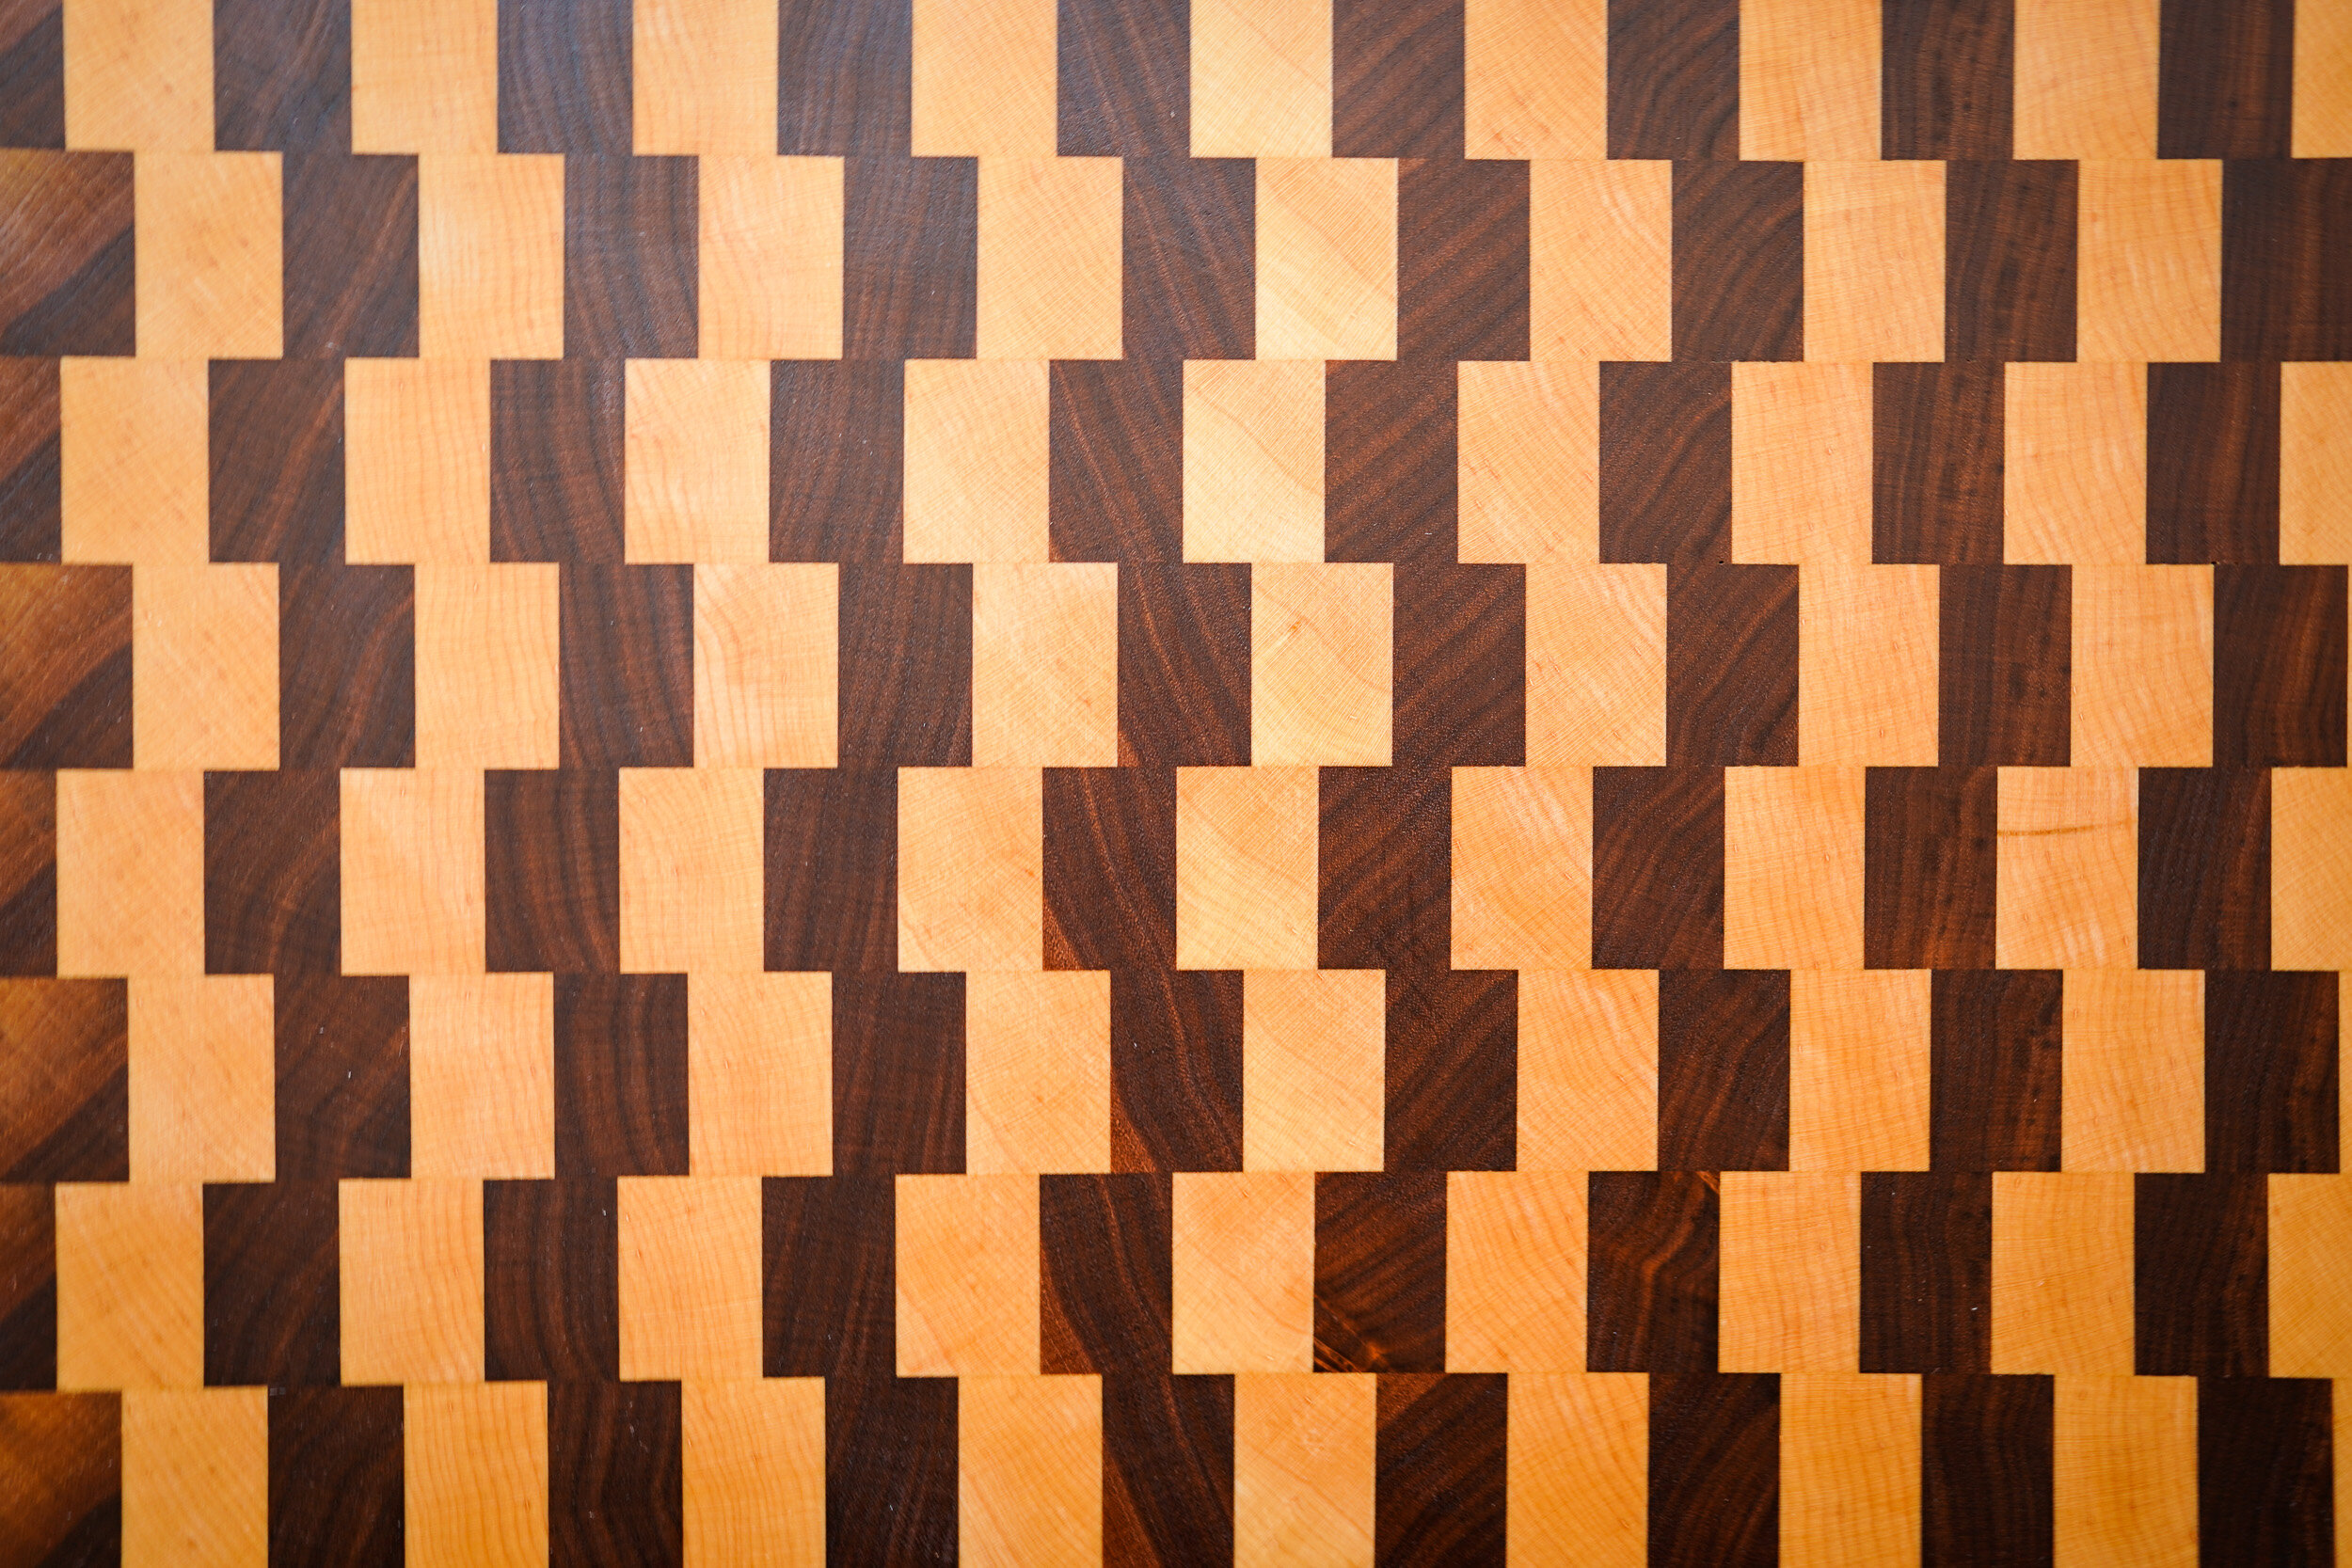
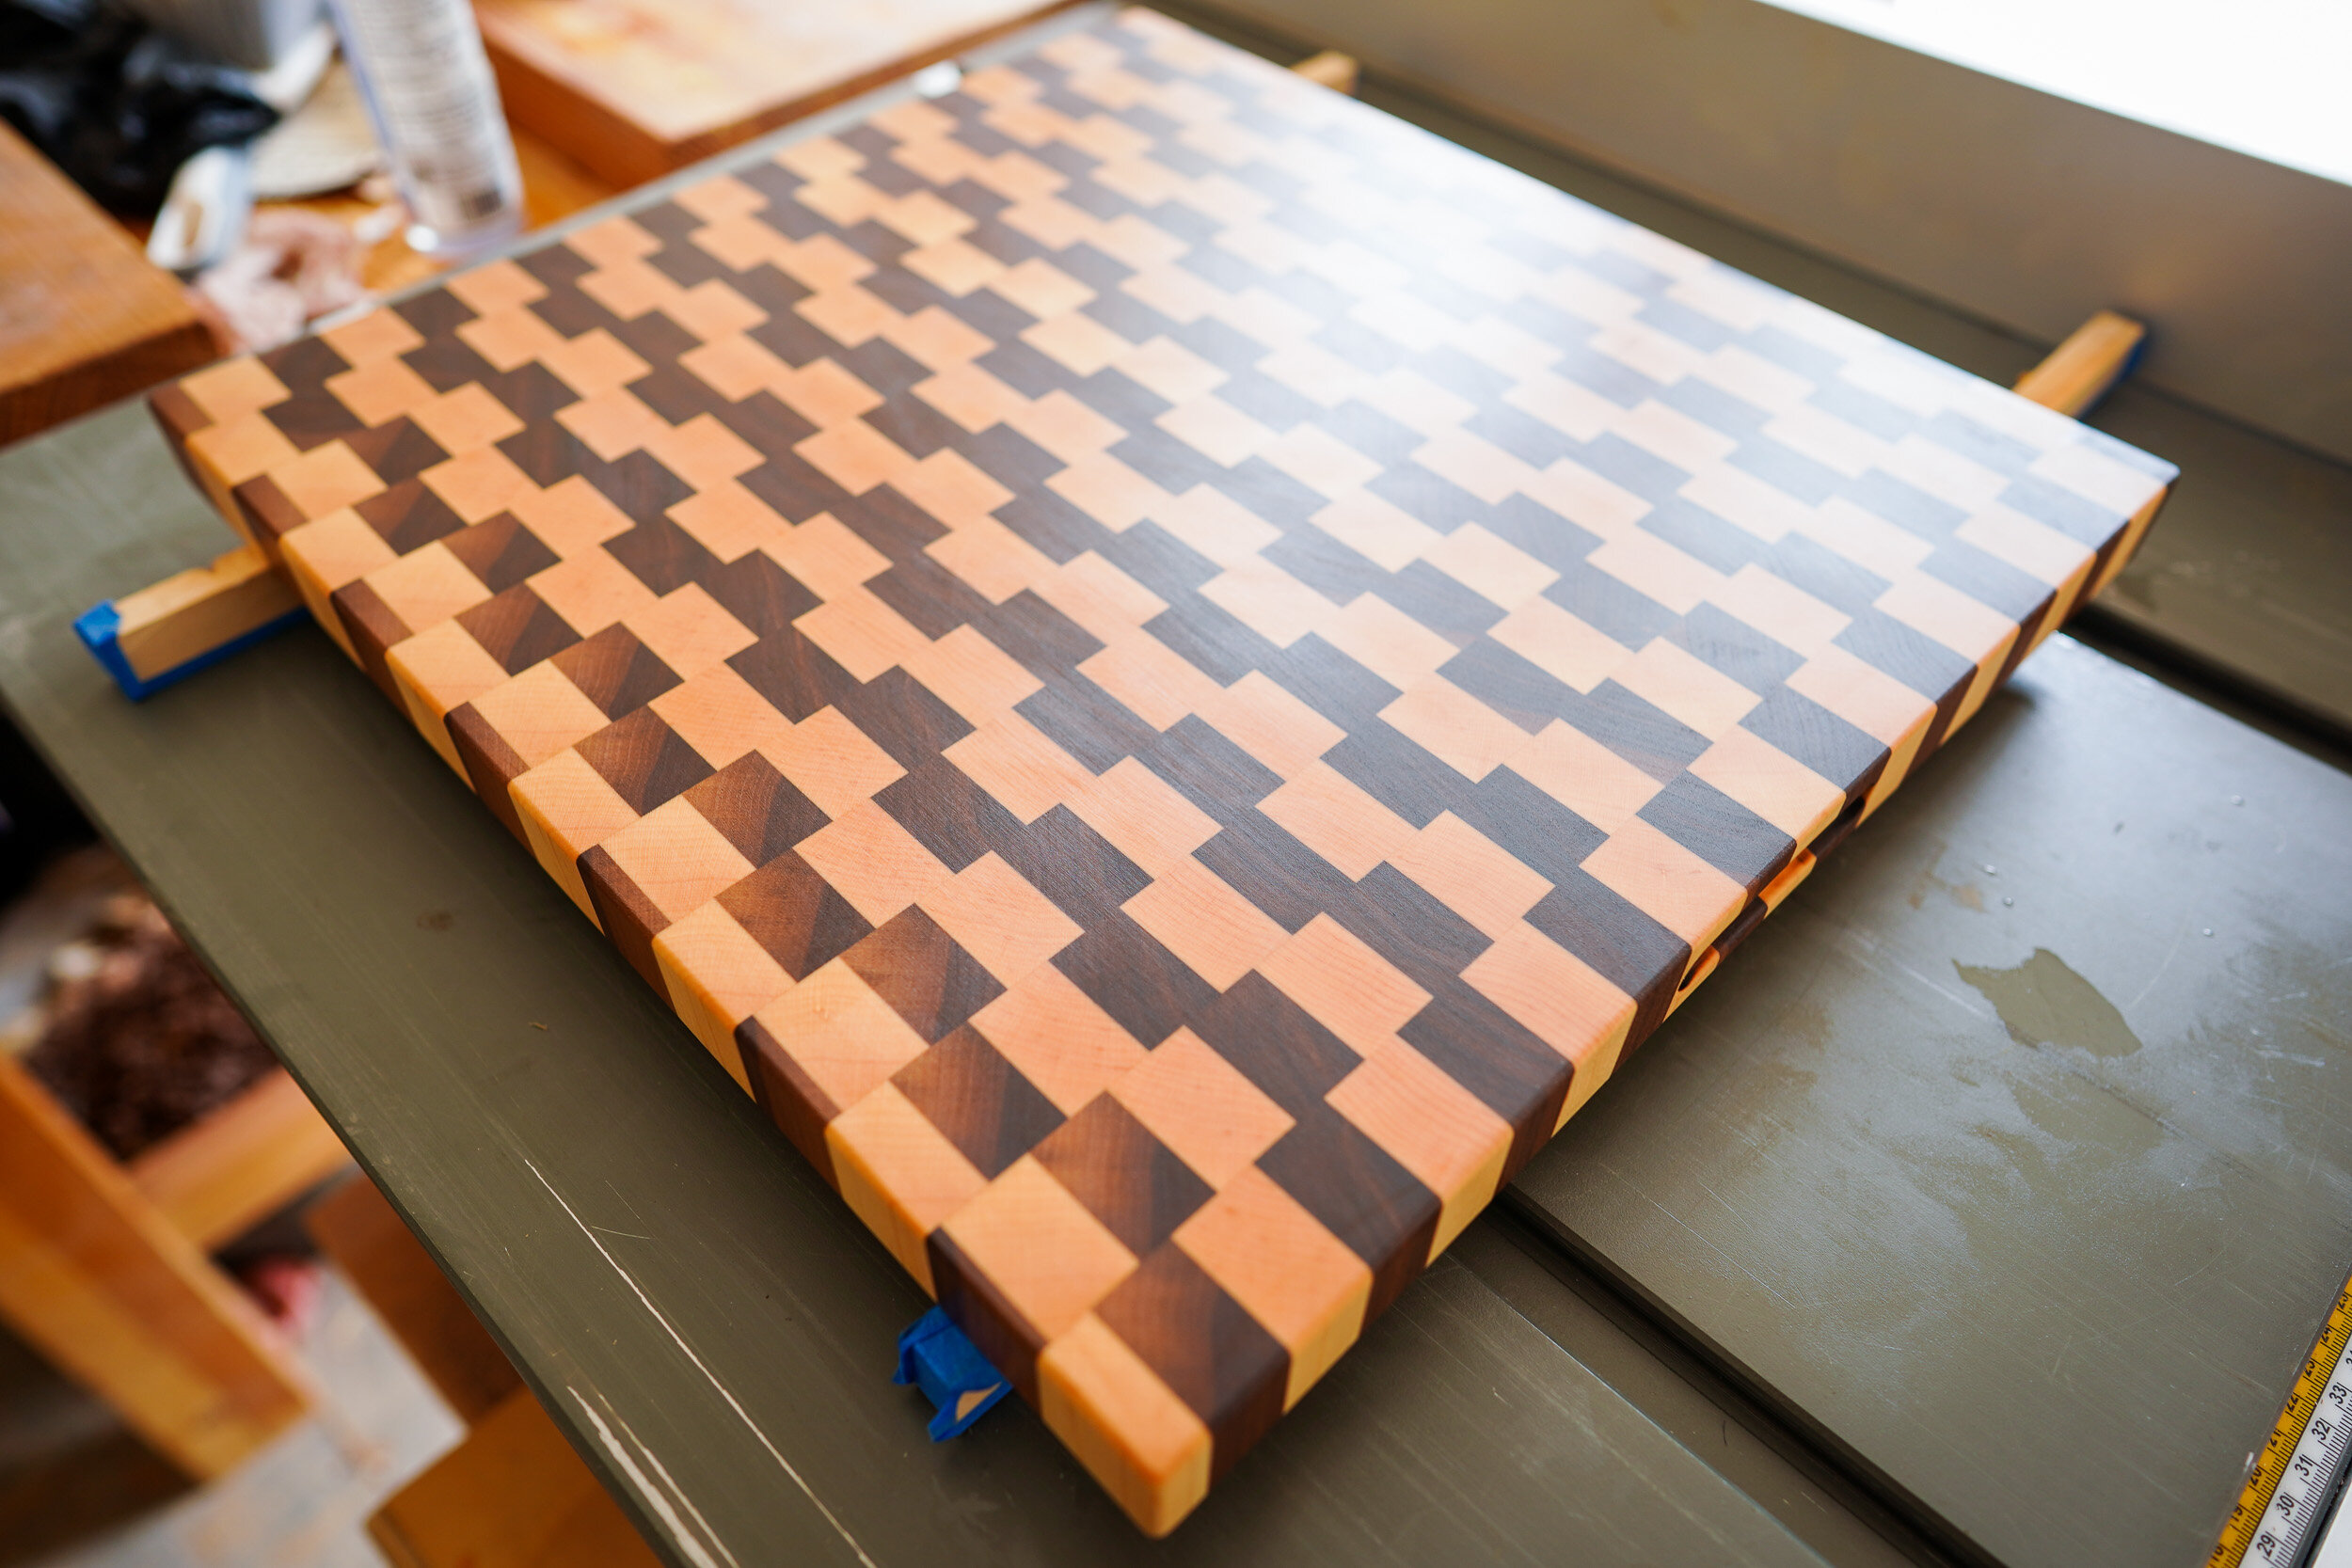
Now I cut the board into 30mm strips, turn them so the grain is facing up and back into the clamps for the final glue up


Again, more planing, this time though, because its end grain I’m using the low angle block plane, this part of the process takes about an hour each side, end grain is hard work on tools
Once the board is cut to final dimensions, I add a roundover to all the edges and carve finger grooves to both sides


For the finish, I first use a butcher block mineral oil, taking my time to insure that the board has absorbed it fully, leave to dry over night, then finish with a natural beeswax food safe butter, which should help to seal in the oil


And that’s it!